8WFM coming soon
 Wednesday, October 12, 2011 at 3:20PM
 Rather excited to see my work in the trailer. (the mask is my work)
Its working out that my fingerprints are all over this production.
 8WFM,
8WFM,  dog mask,
  leather in
  Commission work
  Wednesday, October 12, 2011 at 3:20PM
 Rather excited to see my work in the trailer. (the mask is my work)
Its working out that my fingerprints are all over this production.
 8WFM,
8WFM,  dog mask,
  leather in
  Commission work
  Wednesday, July 13, 2011 at 1:49PM
 This kit was designed entirely with CAD software. Nothing fancy just take measurements and make curves. Basic pattern making skill here (need to work on that).
Free tools for this would be inkscape and open office spread sheet.
Process behind this is:
Make some sketch; in my case doodle a plan on some random scrap of paper
Take measurments
Use spread sheet to devide according to planned design
Draw it up in CAD
Export to laser and cut
Paper parts were made first to test scale and fit (as well as one can test with paper)
Edits made; cut latex.
Hours of gluing and random profanity to assemble everything neatly
Optional things to do:
Lose sleep
Rush like hell
Meet deadline by a hair.
Hexagon pattern is a laser cut appliqué.
Cut using the Site3 Laser (site3.ca)
Another photo on my deviantart page here http://dainsane1.deviantart.com/art/Hexagon-Latex-220374483
Model credits: Fenix Targaryen
Photographer & Make-up Artist credits: Jonah Fheonix
Latex sheeting from sheetlatex.com
 Monday, May 9, 2011 at 10:39AM
 Thanks to all who came to Toronto’s first mini Maker Faire. The response was amazing and encouraging. To see the look of confusion change to amazement was awesome. Seeing this repeatedly over two days really makes me think I have something. It’s not something that will ever sell to the masses; but those who after edgy wearable art will want my creations. Photos of my stuff are located on my deviant art page. (http://dainsane1.deviantart.com).
 Tuesday, March 22, 2011 at 2:53PM
  Closed
  Open
Open Parts and pins
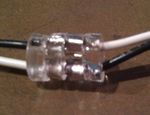
 connector with pinsNow in development: My own magnetic power connector. The dilemma was to power my led wearables without having batteries in every small thing. I have done this so far with disposable batteries; but now I want to use lithium polymer batteries.
These batteries are small but costly and have to have a special charger. Given the limitations it is preferable to have a single larger battery that powers everything.
Next problem shows itself when costume parts can be large, clumsy (wings) and need to be removed with ease. My solution is a power connector that will latch and break with ease.
A magnetic connector that will snap together and will not connect backwards.
Connector closed and open.
The colour code marks the direction of the magnet rather then the direction of current. This will mean all connectors are made the same.
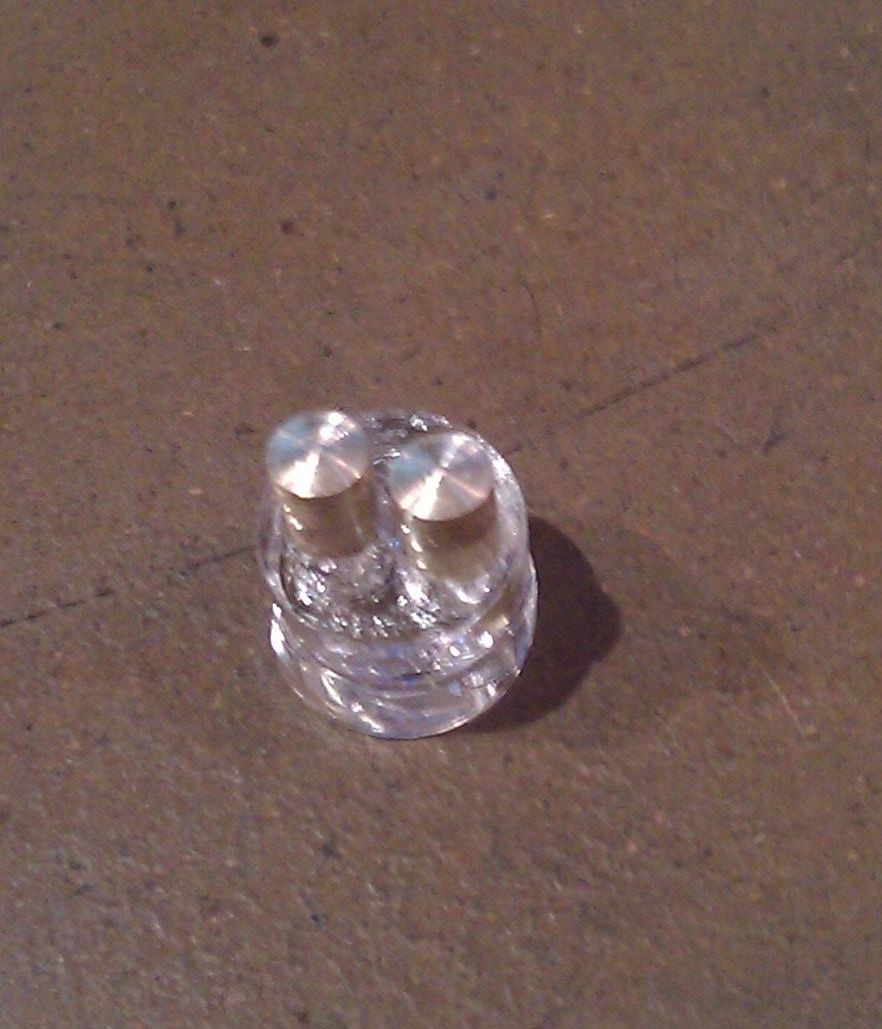
I am using 2 1/8’ neodymium magnets in each connector in a laser cut acrylic housing. The wires will be secured to the magnets with conductive epoxy (pics are dry fit)
The connector housing is made in two parts one cut and etched for the wire, the second to fit the magnets.
Brass pins made to align the halves when gluing.